Documentation for SBOM Workbench
Introduction
The SBOM Workbench is a graphical user interface to scan (for example, using the free Open Source Software Knowledge Base) and audit source code using SCANOSS API.
Auditing your source code for license compliance has never been easier. Simply scan your source code directory to find and identify open source components. Generate your SPDX-Lite software bill of materials (SBOM) with the press of a button.
Note
All of SCANOSS software is open source and free to use, explore our GitHub Organization page. You can contribute to this tool, for more information check the contribution guidelines for this project.
Features
Graphical user interface to facilitate the use of the SCANOSS platform
Scan your source code fingerprints against a knowledge base
File, package and snippet detection
Dependency and licenses detection
Decoration services for cryptographic algorithm, vulnerabilities, etc
Generate an SBOM (software bill of materials) in SPDX Lite and CycloneDX, the raw SBOM/JSON or an HTML summary
Prerequisites
Node.js v14+
NPM (Node Packages Manager)
We strongly recommend handling your node versions using nvm
Note
The SBOM Workbench is compatible with Windows, MacOS (ARM and x86) and Linux.
Installation and configuration
From installers
You can download the SBOM Workbench from our convenient installers, published on the Software transparency foundation website, or directly from the project’s GitHub repository (from the releases tab).
From sources
You can clone the project’s repository and run npm install --legacy-peer-deps.
Note
Please note that you should include the --legacy-peer-deps parameter in the installation command. This is because @mui/styles is not compatible with React 18. You can find more information about this at https://mui.com/system/styles/basics/.
Configuration
SBOM Workbench support advanced settings. All the configurations needs to be included in the global config file ~/.scanoss/sbom-workbench-settings.json.
You can find detailed information about the different configuration options on the README.md file on the GitHub repository for this project (under the Workbench Configuration section).
User interface description
Home
In this section, you will find your existing projects as well as the option to add a new project, or import an existing one.
You can add a new project either from the source code or the WFP fingerprint file (for example, generated with scanoss-py).
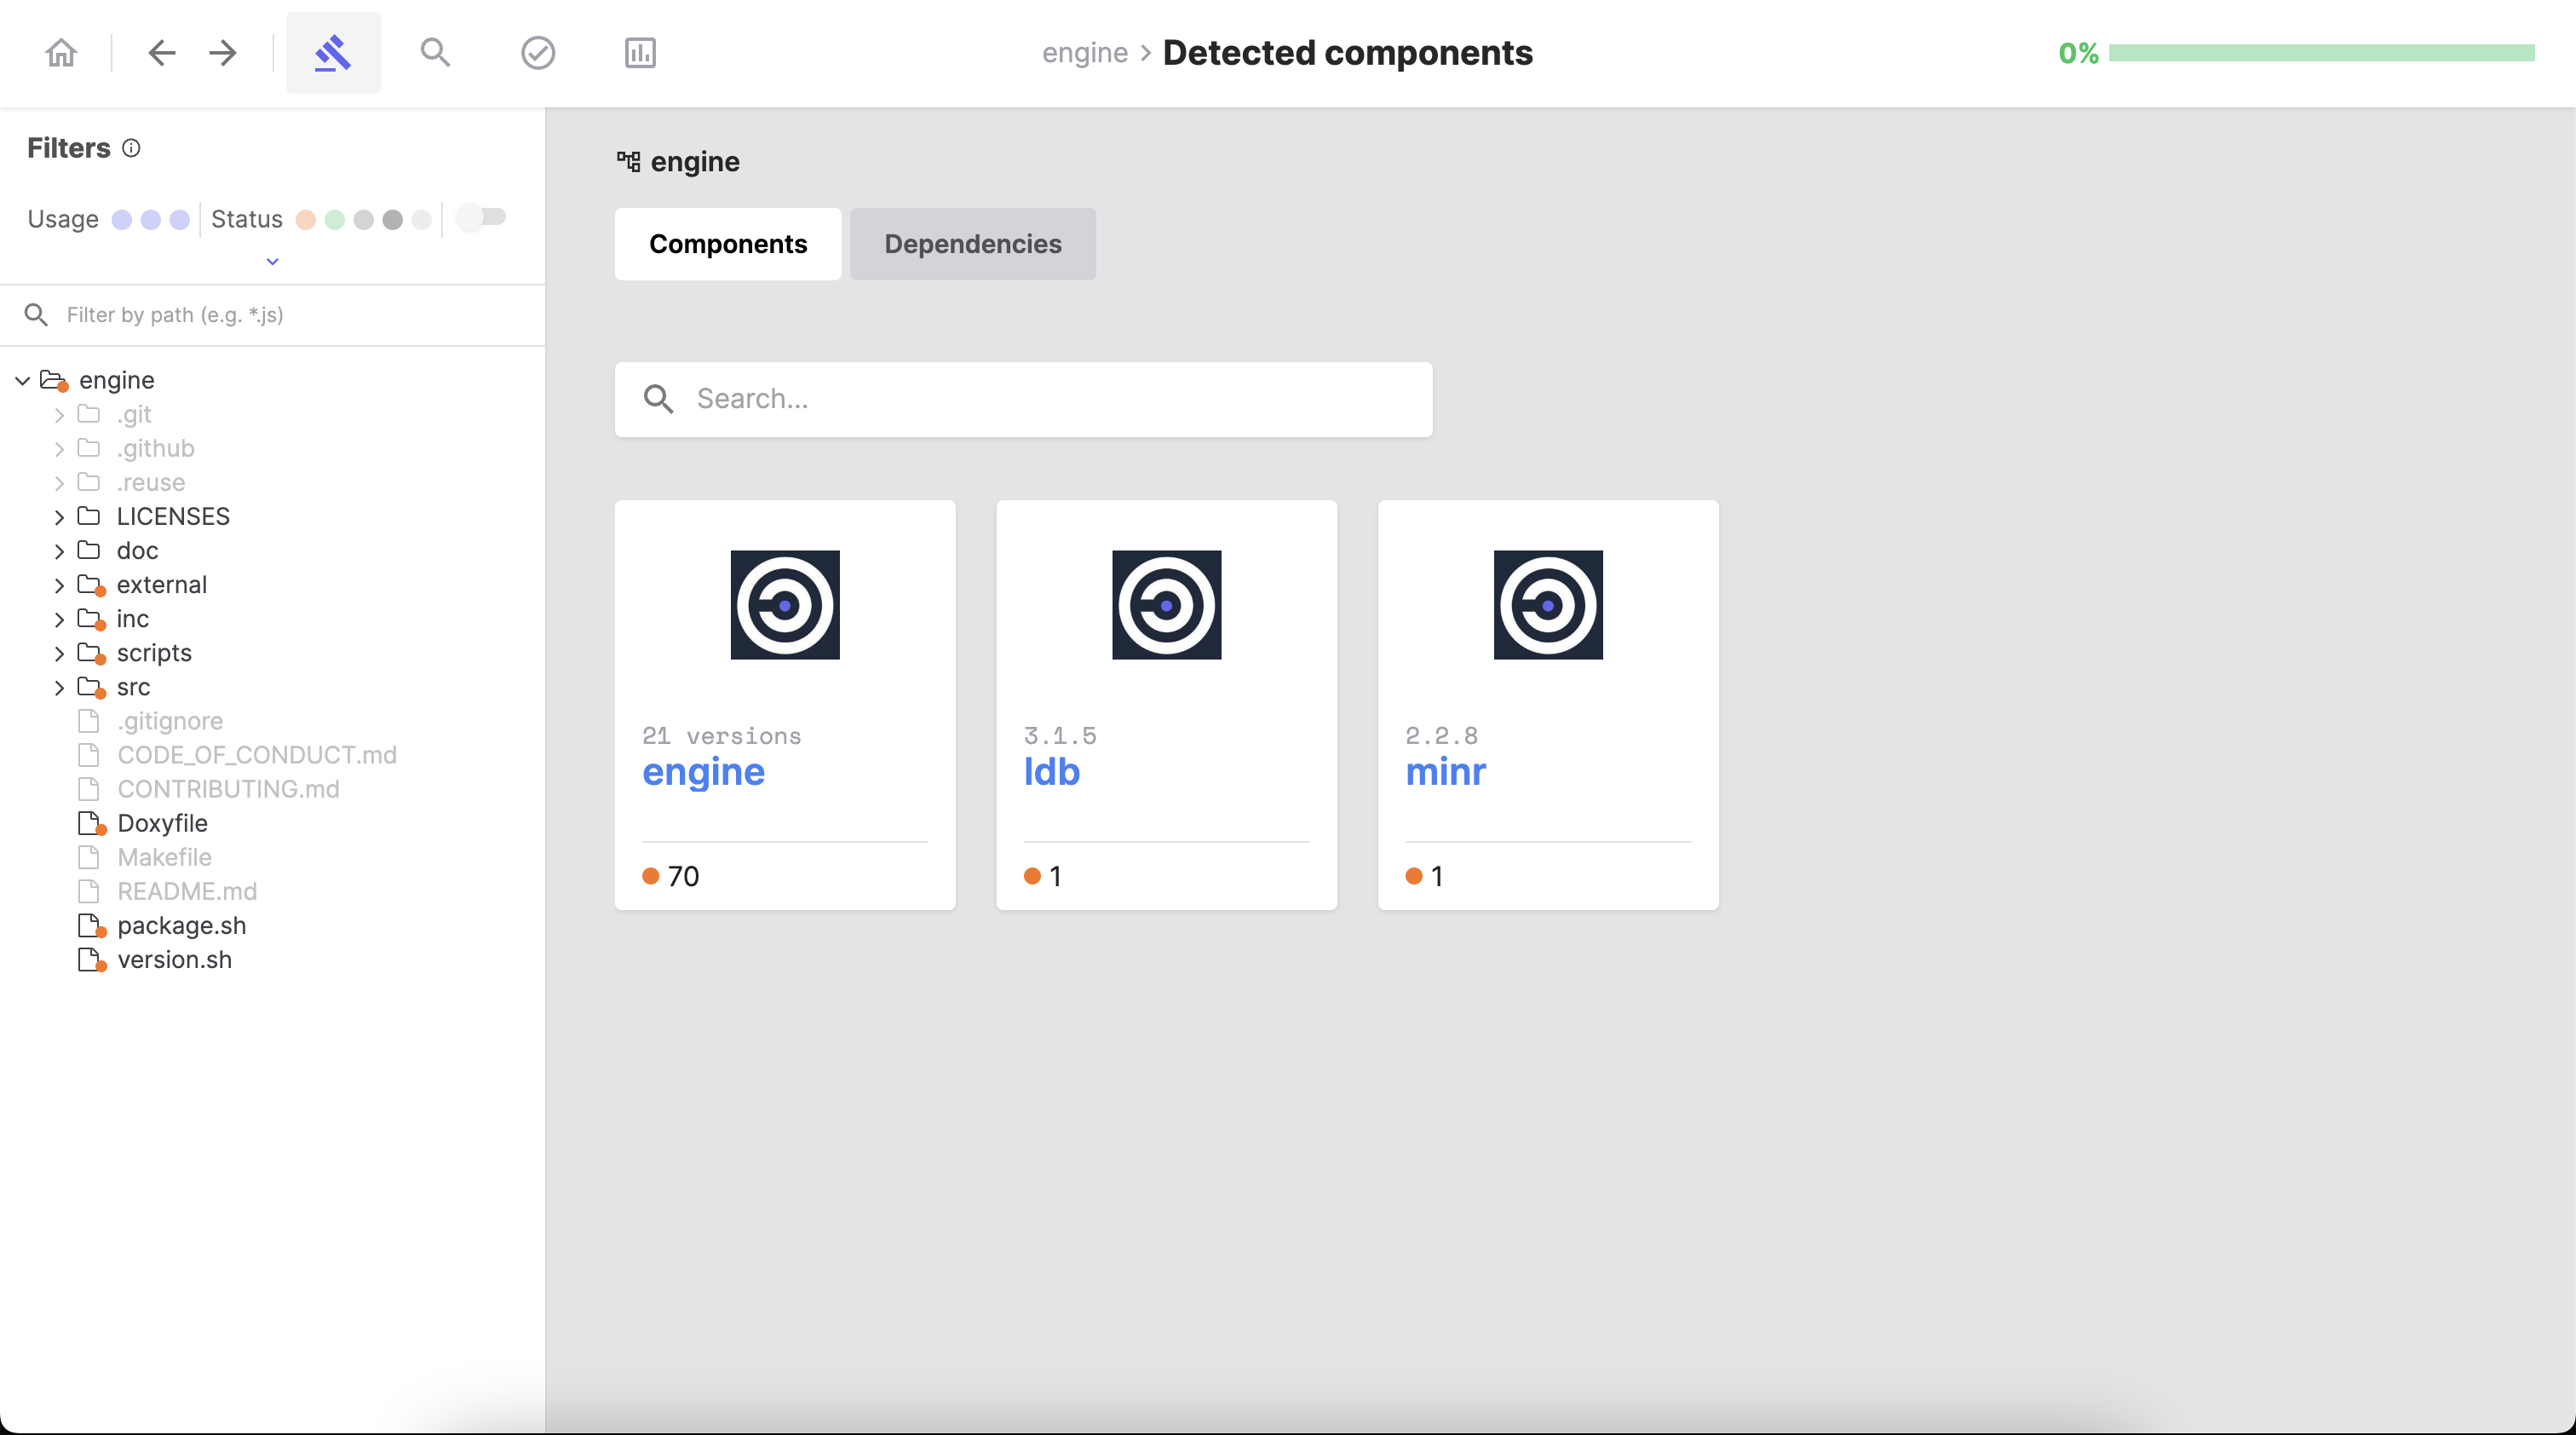
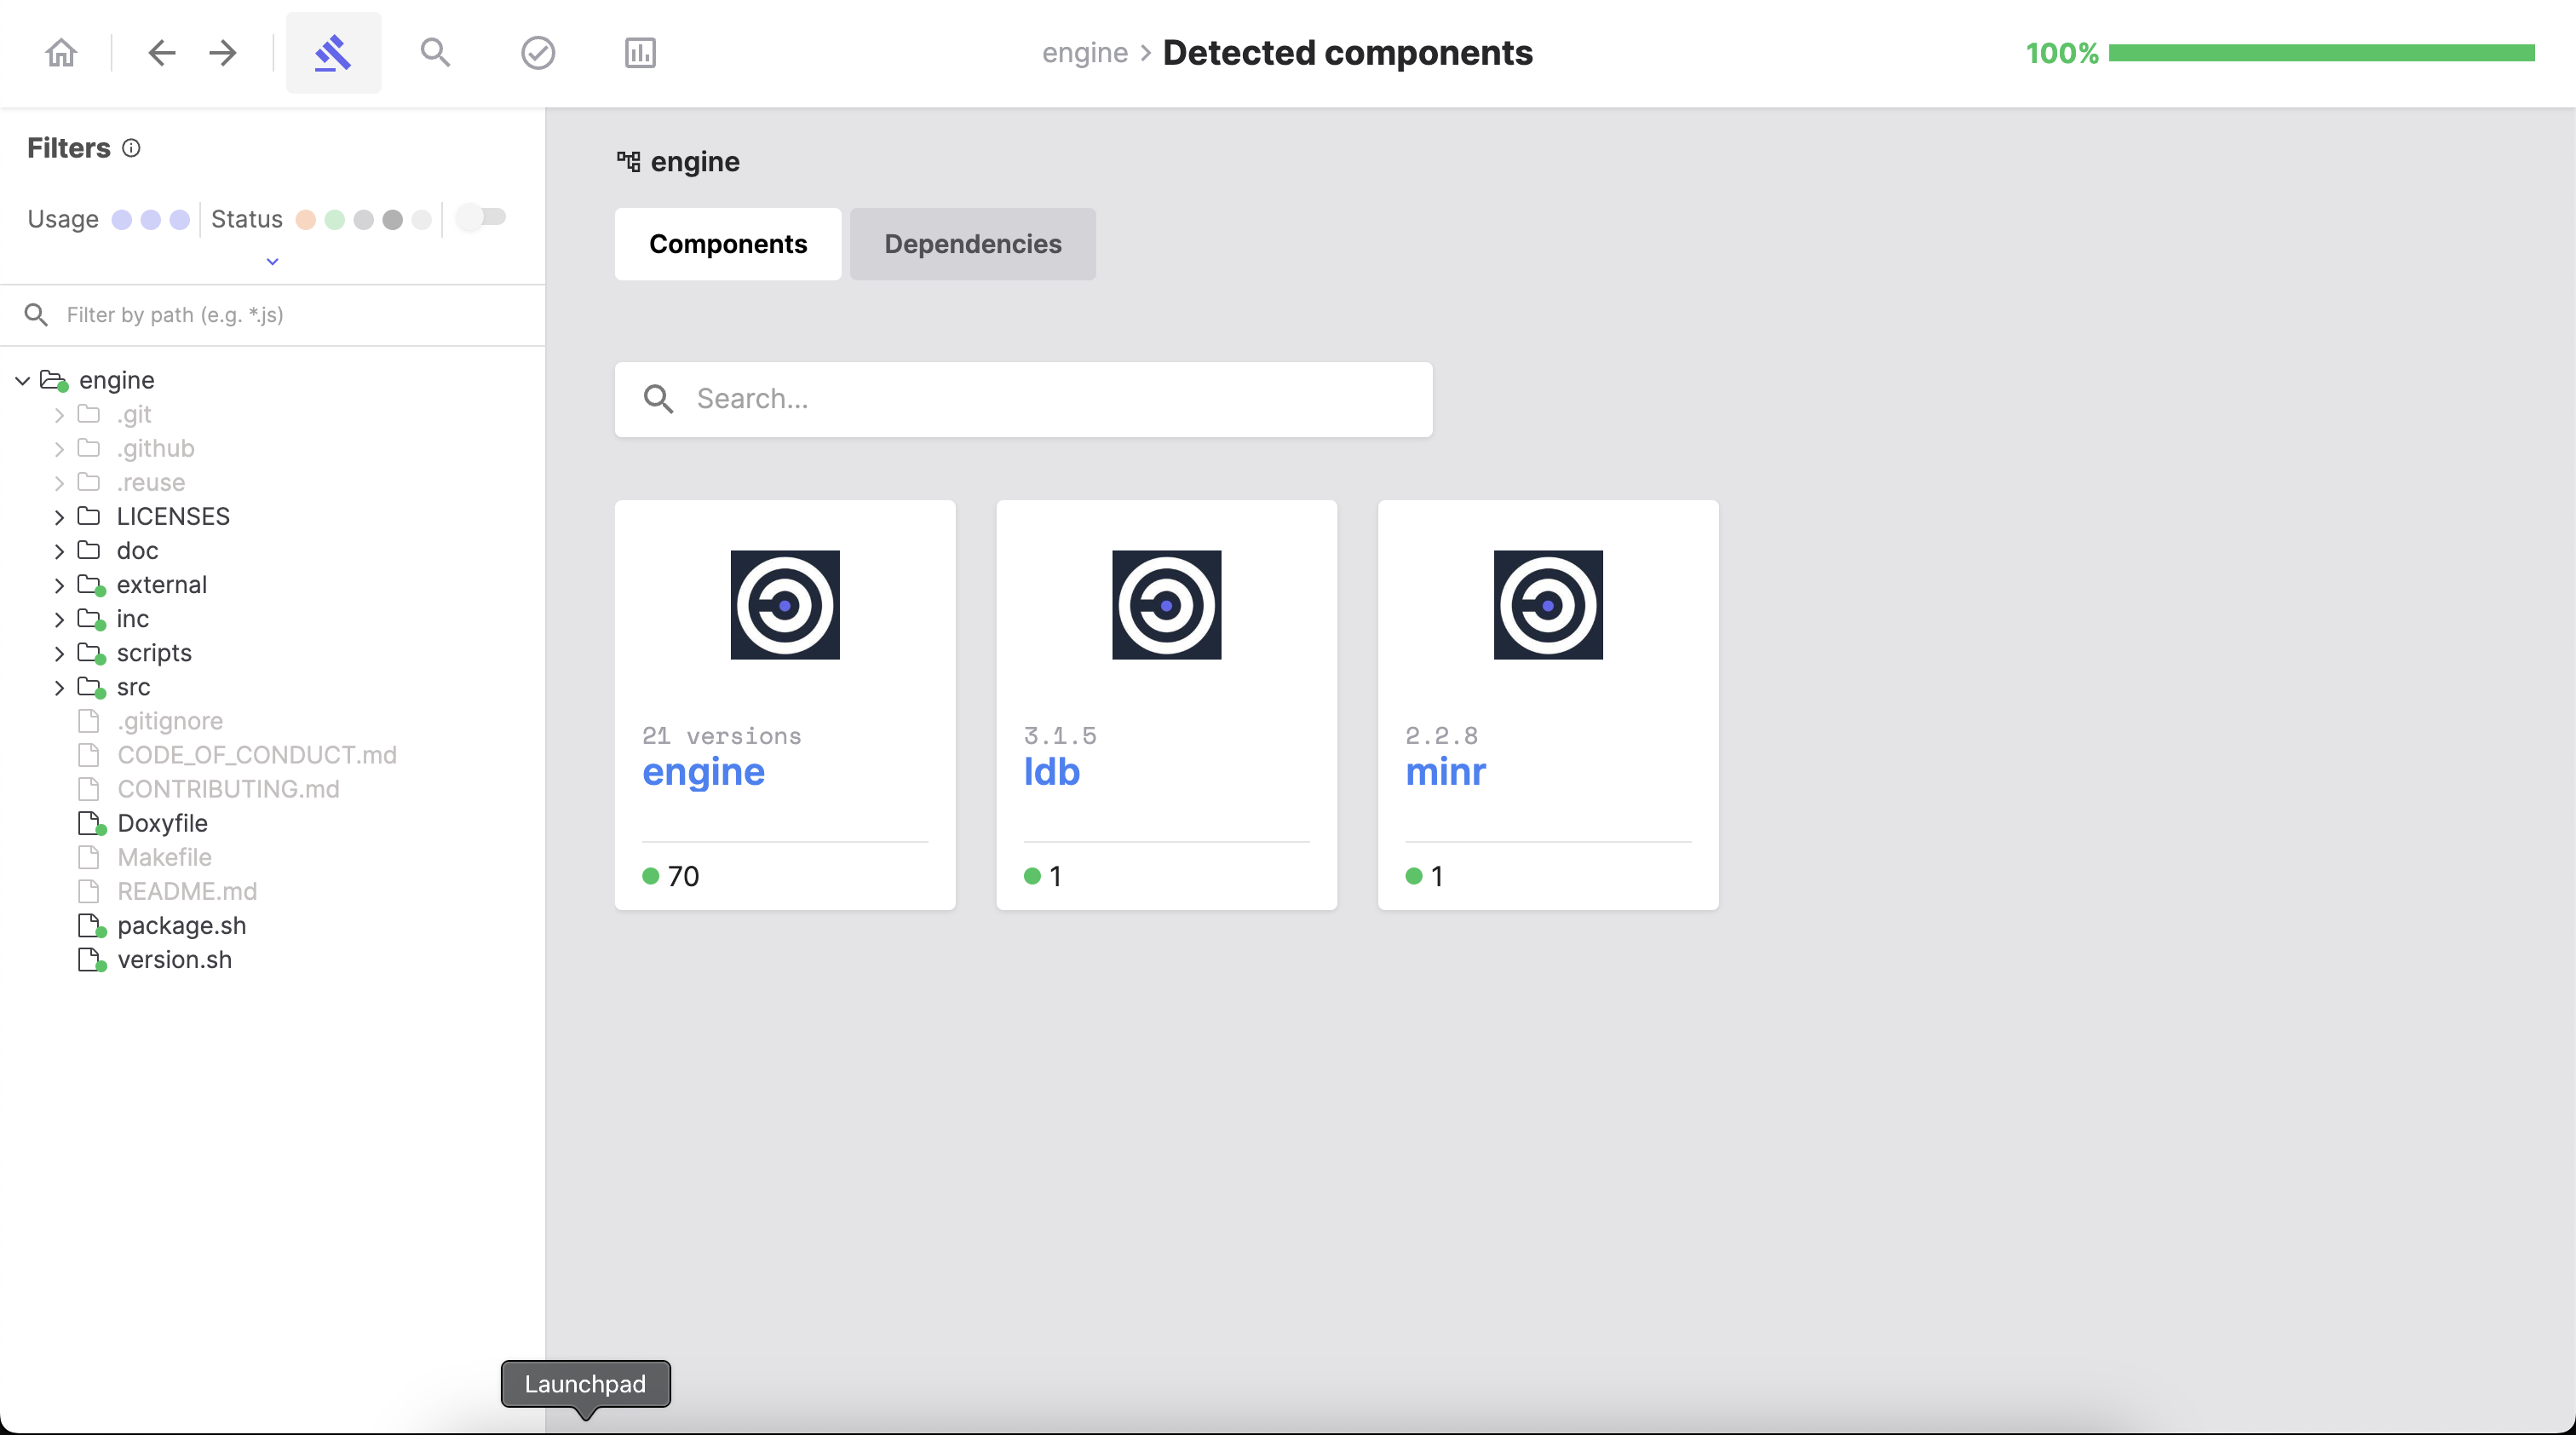
Detected components
The SBOM Workbench offers the possibility of automatic or manual identification of components and dependencies, this section is dedicated to this feature. You will be able to check for pending files, grouped by component.
On the left tab, you can filter components by type (file, snippet, dependency) and status (pending, identified, original, no match or ignored). Also, you will have a description of the directory for this project.
Search keywords
This quality of life section, allows you to look for specific keywords inside your project, you can also look for keyword groups.
Identified components
In this section, you will find the components identified during the first scan, and the ones you detect in the ‘Detected components’.
Reports
This is the dashboard containing details from detected and identified components.
This tab contains the following details:
Licenses and license obligations
Declared and identified dependencies
Vulnerabilities
Match percentage (in the
Detectedview)Identification progress and percentage of OSS vs Original code (in the
Identifiedview)
From this tab, you will be able to export your SBOM.
Getting started
In this section, we will go through the typical workflow from adding a project to generating your SBOM.
Add or import your project
In the Home tab, click the New project to add a new project from the source code itself, or click on the arrow to display te dropdown menu to add a new project from a WFP file or import an existing project (for example, from another computer) in the state it was exported.

If you choose the option to add a new project, either from sources or WFP file, you will be taken to the Project settings screen.

Here, you can customize the following things:
Project name
License
API connections
Scanner settings
Note
You can provide a context file SBOM.json declaring known components to get the most accurate results.
After you add and configurate your project, the SBOM Workbench will automatically go through various stages: scanning your project, detecting licenses, analyzing for dependencies, searching for vulnerabilties, and so on.
First view of the Reports tab
After adding and scanning your project, you will be greeted with the Reports tab.
In this first view of the Reports tab, you will be able to visualize the information of detected components, licenses, dependencies and vulnerabiltiies from the previously mentioned stages.

Identify components for your project
For this task, we will go to the Detected components tab.
In this tab you have the option to automatically identify the detected components/dependencies or do it by hand: selecting the name, version, license, URL (optional), PURL, usage (file, snippet or prerequisite) for this component.
Tip
To display all available actions, right-click the desired file/folder. You can also restore the original state of the file/folder, in case you need to correct the identification.
Note
Remember, you can also mark components as Original, there is no option to ignore components because that isn’t compatible with the concept of an SBOM.
Review the identified components
After finishing the identification process, you can review it in the Identified components tab.

Generate a report
Finally, we will go to the Identified view of the Reports tab to perform a final review of the project (you can also compare this view to the Detected view of this tab) and click on the Export button to select the format of your SBOM.

Note
Remember the SBOM Workbench supports the following formats: CSV, SPDX Lite, CycloneDX or an HTML summary.

After clicking on the preferred format and defining the export path, the SBOM will be downloaded to the specified path.
License
The Scanoss Open Source SBOM Workbench is released under the GPL-2.0-only license.